


Photo gallery
More visuals from this story
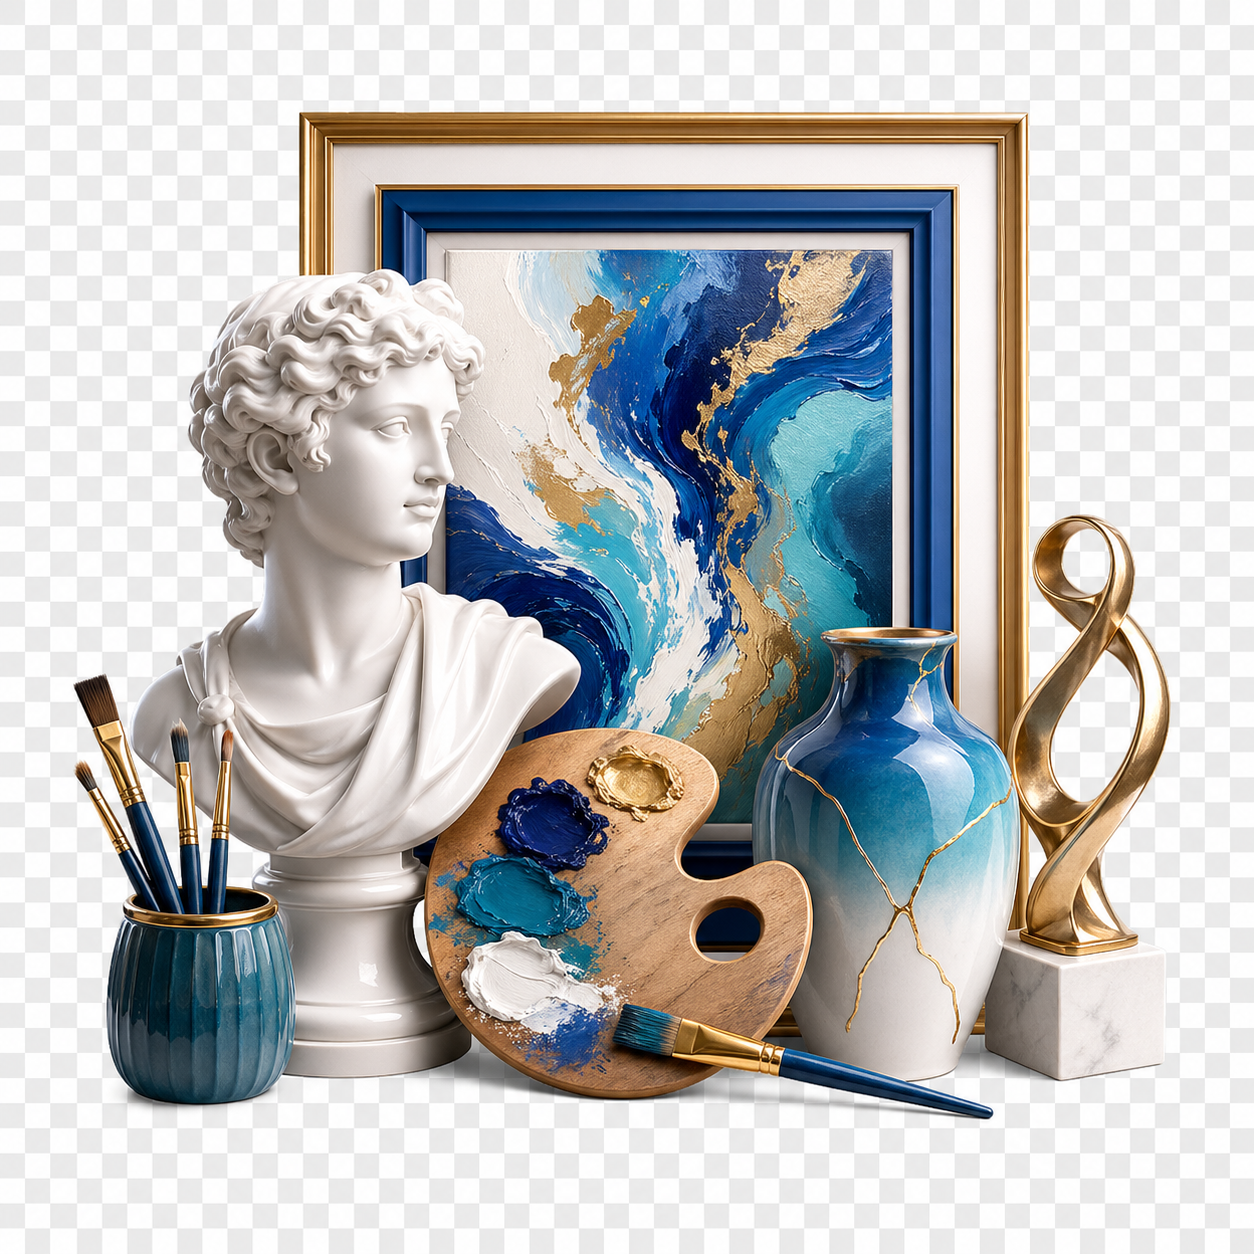
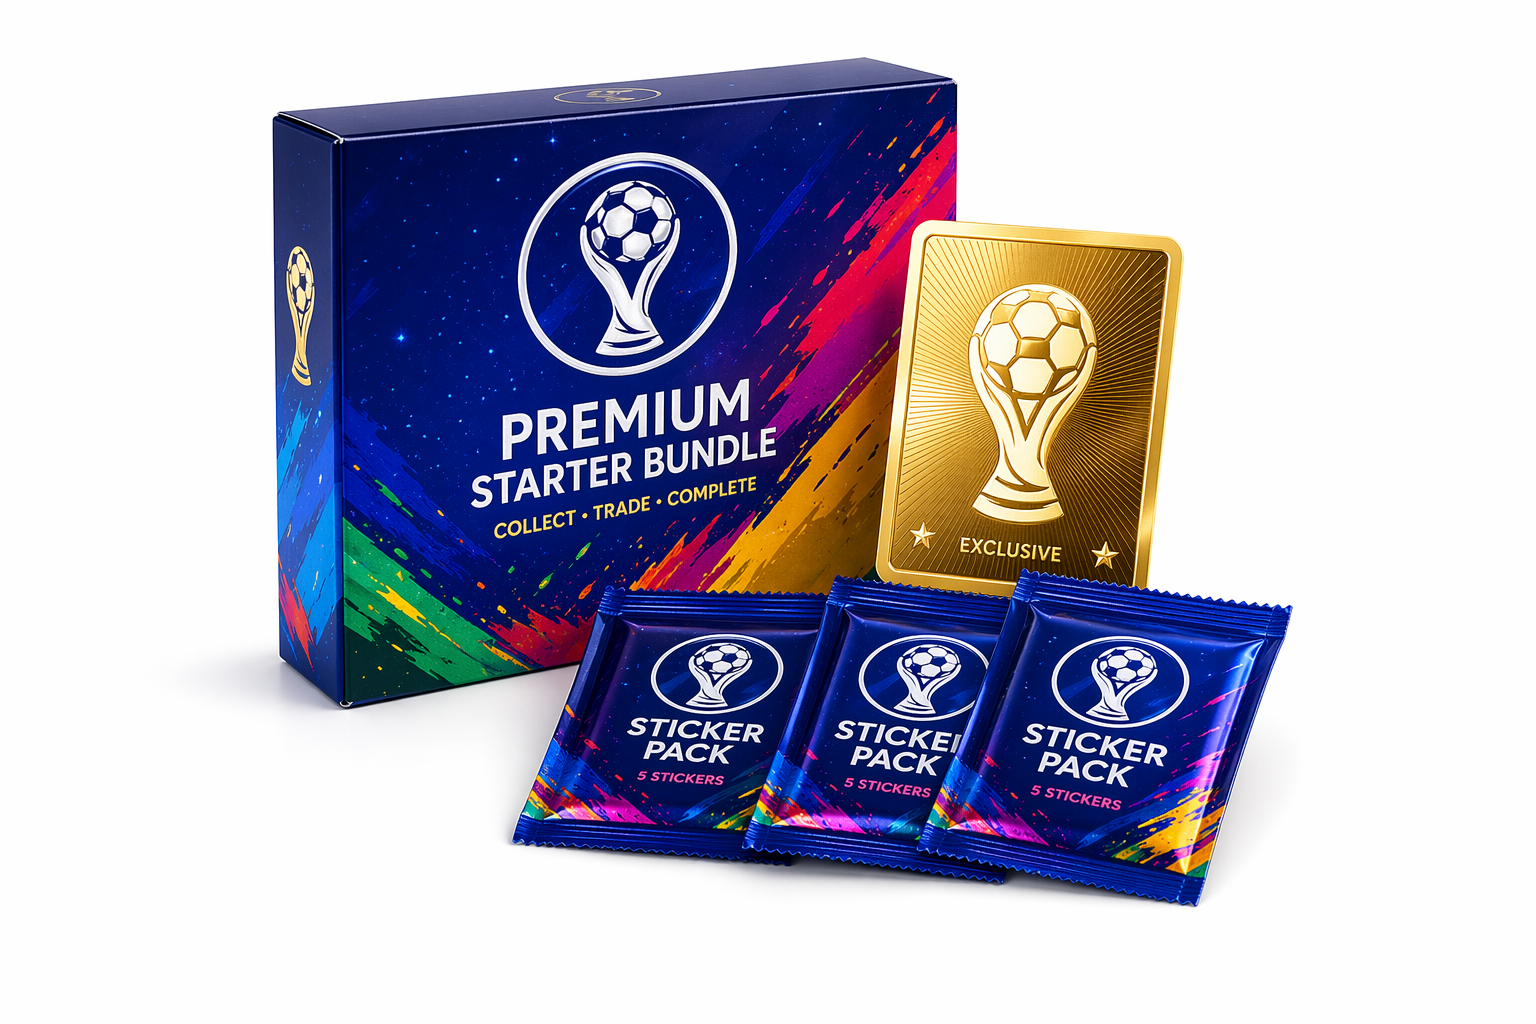
Additional collector, city, and tournament visuals connected to this launch story.

1. Read the page top first Use the hero metrics to understand album completion, missing count, duplicates, open trades, and unread replies before you click anywhere else. 2. Focus...
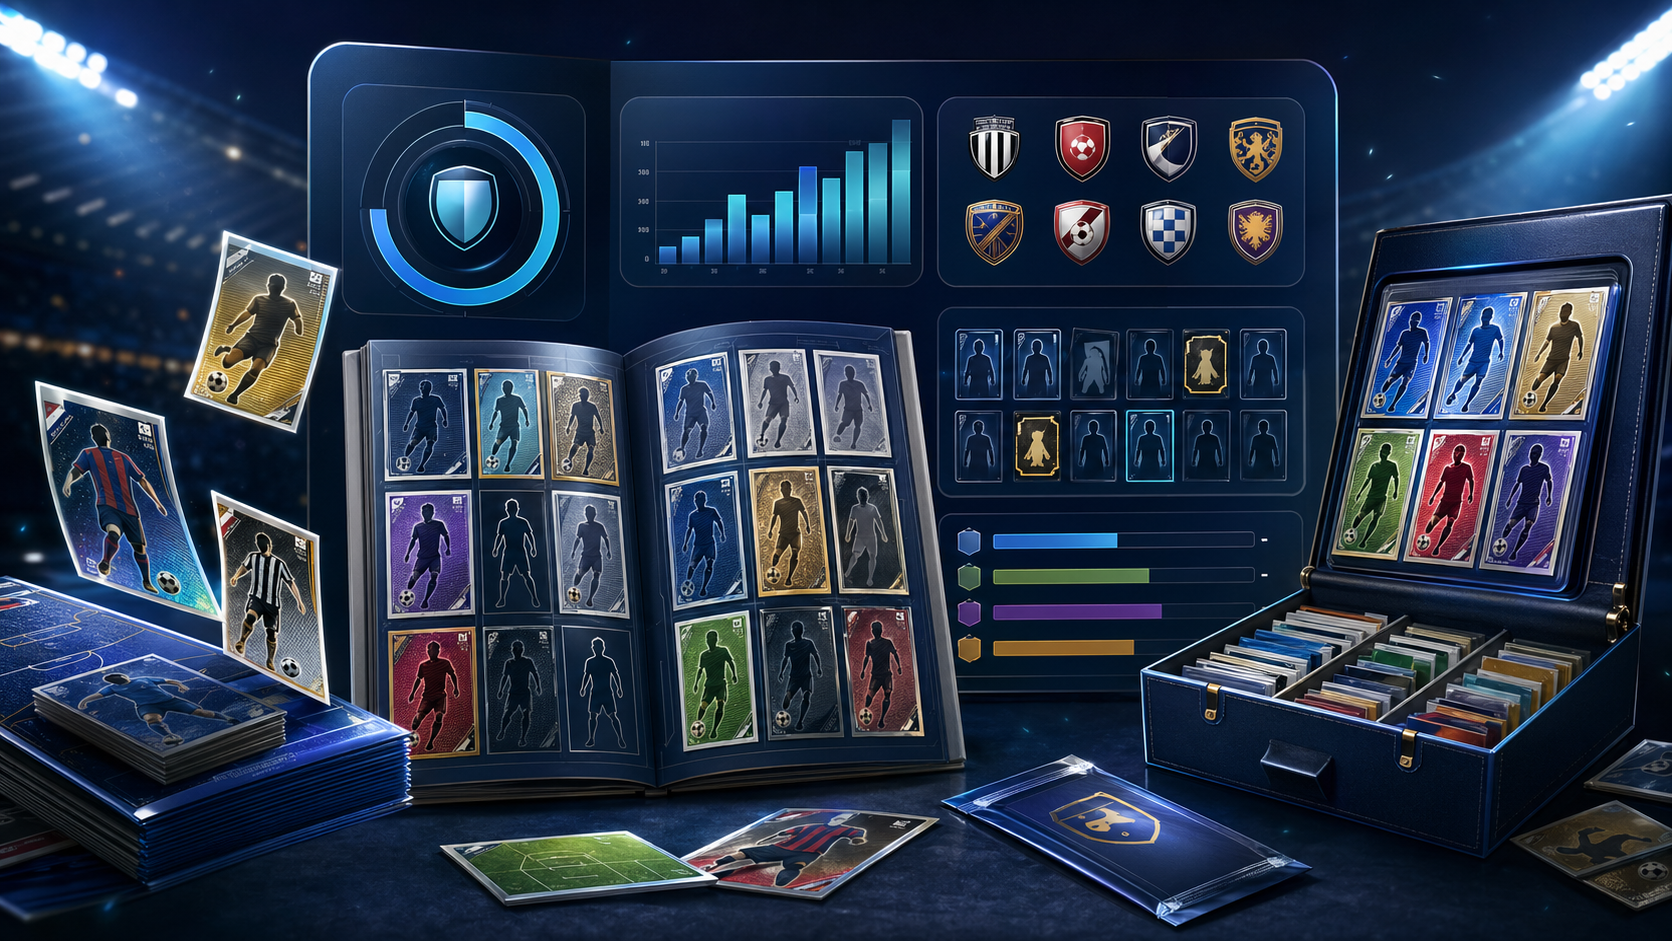
Additional collector, city, and tournament visuals connected to this launch story.
Use the hero metrics to understand album completion, missing count, duplicates, open trades, and unread replies before you click anywhere else.
Open Team Order and My Album so one team and one clean truth source guide the session.
Use Missing and Repeated to publish requests or offers without retyping sticker details.
Move into Trade Market, inbox, chat, and tournament context so every session ends with clear next steps.

The Album Hub works best as one continuous operating page: hero metrics, Team Order, My Album, Missing and Repeated, Trade Market, chat, and tournament context.
When you open the Album Hub page, do not scroll immediately. The top block is not decoration. It is the fastest summary of whether your collection is healthy or drifting. The completion ring tells you how far the album is from done, while the stat cards underneath show the current count for Collected, Missing, Repeated, Wishlist, My Open Trades, and Unread Messages. Those numbers should shape the whole session. If missing is high, the priority is probably demand. If repeated is high, the priority is likely offers. If unread messages jumped overnight, you may want to clear conversations before posting anything new. This is why I think of the top of the page as the morning dashboard for collectors. In a few seconds it tells you if the day should be about tracking, trading, replying, or just cleaning up loose ends. Once you build the habit of reading that hero first, the page becomes easier to use because every later section has a clearer purpose.
After the hero, jump to Team Order. This is the cleanest place to start whenever the album feels big, because it reduces the work to one team instead of the full tournament. Use the team dropdown, switch the focus, and click Show Team Plan. The page then gives you the selected team card, the team completion percentage, how many stickers are already in place, how many are still missing, and the highlighted card called Next best sticker to find. That feature matters because it removes indecision. The ordered sticker list below does the same thing. Every row shows the sticker number, label, team page reference, and current badge, and if a sticker is still unresolved you can hit Mark Collected right there without leaving the section. That makes Team Order more than a summary. It becomes the place where you decide what the current collecting sprint is. If you only have five minutes, start here, solve a few rows, and the page will still feel productive.

The top of the page should answer one question fast: what kind of collector session do you need right now?
Once Team Order gives you direction, open My Album. This is the truth layer for the rest of the page. Each card shows the sticker number, sticker label, team label, status badge, dropdown, quantity field, and the Save Sticker button. The important part is not speed by itself, but accuracy. If a sticker is still absent, keep it as Missing. If it is already secured in the album, mark Collected. If you have extra copies, use Repeated and enter the real quantity. If you want another copy on your radar, use Wishlist. That quantity field is especially important for additional stickers, because the page can only treat duplicates like real inventory if you tell it how many you actually own. A collector who opens packs after work should ideally update this section immediately, not later, because every later step on the page depends on these values. When My Album is honest, the system can build better requests, better offers, and a much cleaner market presence without asking you to reconstruct your album from memory.

My Album is where the page becomes trustworthy. Save status and quantity well here and the rest of the hub gets smarter automatically.
The smartest part of the page comes next. Open Missing when you want to turn need into action, and open Repeated when you want to turn extra inventory into movement. In Missing, every card already knows the sticker number and label, so you can press Post Request for the instant route or Customize if you want to open the composer with a drafted note and adjust the message. In Repeated, the same thing happens from the opposite side. The page reads your duplicates and lets you use Post Offer or Customize without retyping anything important. This is also where additional stickers become useful in practice. If you opened more packs and saved a sticker with quantity two, three, or more inside My Album, the repeated section can turn that extra stock into live offer inventory immediately. A good habit is simple: update the album first, then visit Missing and Repeated right after. That sequence makes the page feel almost automatic because your collection state transforms directly into real next actions.
When you move into Trade Market, the page changes from tracker to action center. At the top you can filter by Search stickers or collectors, Trade type, and Country, then use Apply Filters or Reset to clean the view. That alone makes the market more practical because you can stop guessing and start narrowing the feed around the kind of exchange you actually want. On the left, the Create Custom Trade Post composer lets you choose offer or request, select the exact sticker, confirm quantity, and add notes that explain whether you want to meet locally, swap after a match, or ship carefully. On the right, the community feed gives you live collector posts, match score relevance, city and country signals, and fast message entry points. This is the section to use when you want to publish additional stickers, refine a request, or respond to a serious lead. The page is doing much of the memory work for you, which is why the whole market feels calmer than a generic trading board.
The composer, filters, and feed work together best when the page already knows which stickers are missing and which are repeated.
After you post or message, do not leave the page in a messy state. Open Trade Inbox to keep conversations grouped by post, because that is the cleanest way to remember who is offering what and why the thread started. You can reply directly there with Send Reply, which is ideal for confirming quantity, timing, and whether the exchange is local or shipped. If you want the broader moderated room, jump into Community Chat for channels, image sharing, and faster collector discovery beyond one single trade thread. The right-side floating dock is what makes all of this easy. It keeps Team Order, My Album, Missing, Repeated, Trade Market, Community Chat, Trade Inbox, and Tournament one click away, so you are not forced to start from the top of the page every time you switch intention. Use the dock like your shortcut bar. That one habit makes the page feel professional and fast instead of long.

The right-side dock is the fastest way to move between tracking, trading, messaging, and tournament context without losing your place.
The last section most people underestimate is Tournament. It keeps host cities, upcoming matches, and group standings inside the same working page, which matters because collector demand moves with the event. A team that just won can suddenly drive more trades. A city preparing for a major fixture can concentrate more collector activity. A match schedule can tell you when it is worth checking the market again later in the day. That is why the best way to use the whole page is as a routine rather than as separate features. Open the hero, choose a team, save the album truth, turn missing items into requests, turn additional stickers into offers, clear your inbox, and finish with tournament context before you leave. Once you repeat that loop a few times, the page stops feeling large and starts feeling disciplined. It becomes one dependable workspace where collecting, trading, and live tournament attention reinforce each other in the right order.

Lorem, ipsum dolor sit amet consectetur adipisicing elit. Exercitationem, facere nesciunt doloremque nobis debitis sint?