


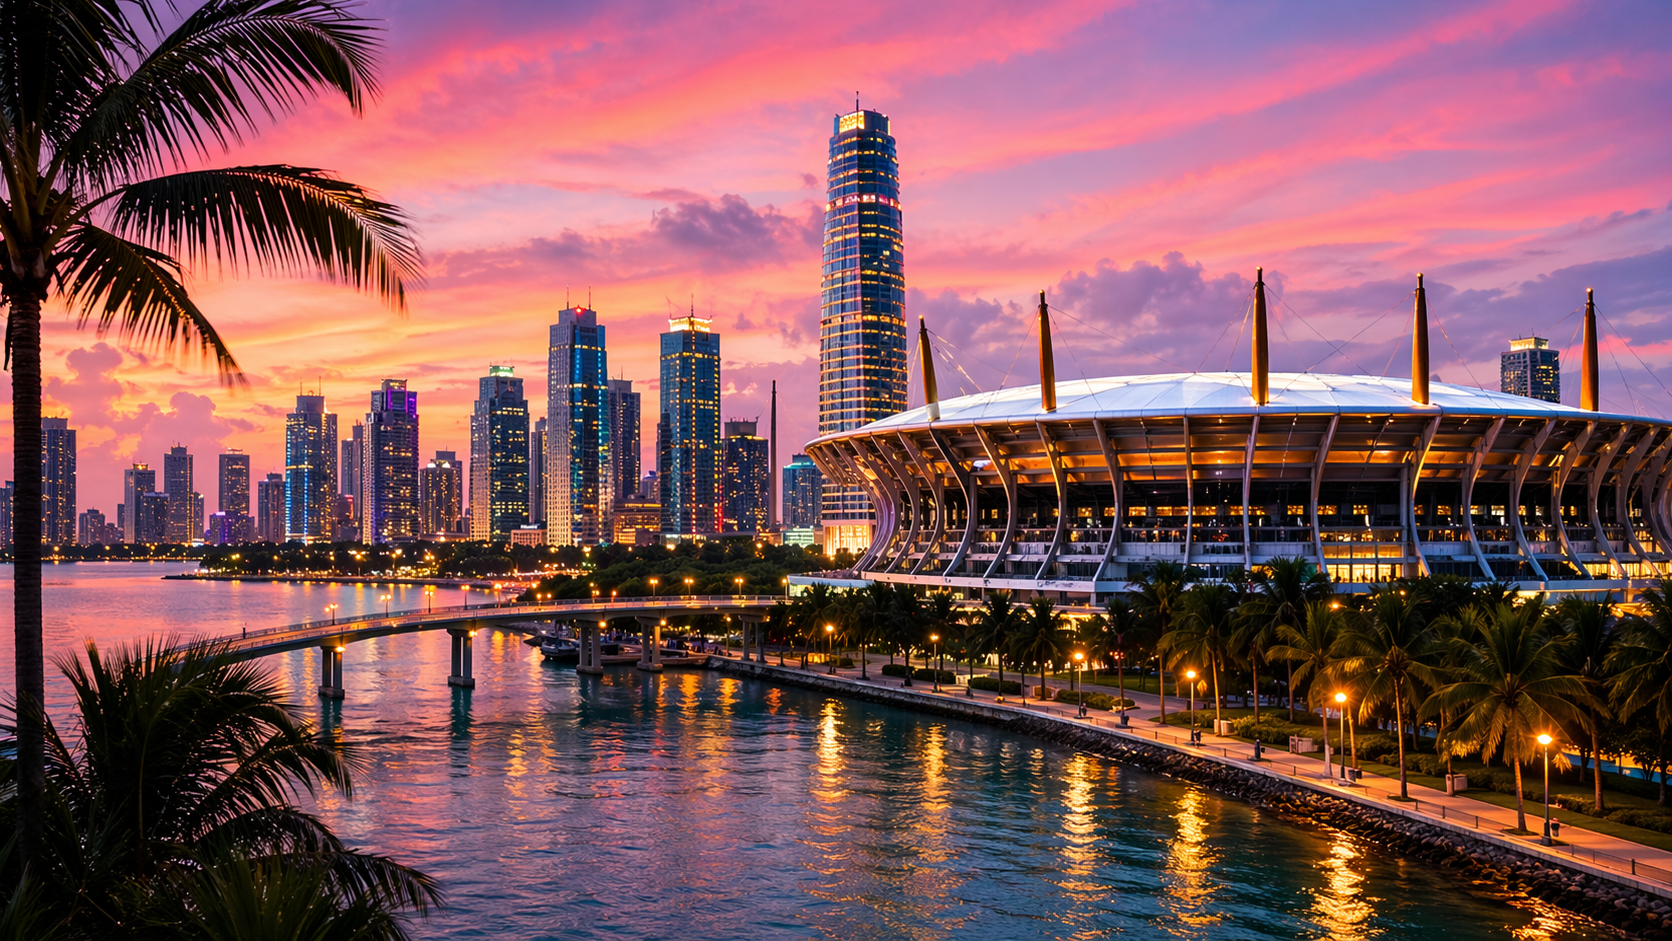
Photo gallery
More visuals from this story
Additional collector, city, and tournament visuals connected to this launch story.

1. Open the hero actions Start with Explore Cities and Build Matchday so the page immediately matches your travel intent. 2. Filter the page Use the search bar and chips to narrow...

Additional collector, city, and tournament visuals connected to this launch story.
Start with Explore Cities and Build Matchday so the page immediately matches your travel intent.
Use the search bar and chips to narrow the screen around cities, matchday, food, attractions, or trip planning.
Read the spotlight facts, compare the city rail, then switch the featured guide if another host city fits better.
Use attractions, food, itinerary, stay advice, essentials, and AI prompts to turn the page into a practical plan.

Explore City Hub is easiest to use when you move from city selection into trip building, then into stay advice and AI help.
When you open Explore City Hub, the hero already gives you the first decision the page wants you to make. The primary buttons are not filler. Explore Cities is the right move when you still need to compare destinations, while Build Matchday is the better move when the city is mostly decided and you want the page to become a planning tool. The hero stats underneath help reinforce that choice by reminding you how broad the host-city network is and how much information is available in this one section. The floating city card on the art side also matters because it signals that the page is designed around an active city model. In other words, one city can become your current focus while the rest of the guide remains available. That is a smart structure because it supports both browsing and commitment. Many travel pages are only good at one of those modes. This one is deliberately trying to support both, which is why the top should always be your first stop before you start scrolling.

The hero is the page handshake: decide whether you are still comparing cities or already building a matchday.
Right after the hero, use the search bar and chips because this page can cover a lot of ground quickly. The chips are especially useful: Cities keeps you in comparison mode, Matchday points you toward itinerary logic, Food filters for local flavor, Attractions highlights what to do in the city, and My Trip leans into the planning blocks. This matters because the same user may return to the page with a different question every time. One day the question is which city has the best stadium access. Another day it is where to stay. Another day it is what to do between breakfast and kickoff. The search tools respect those shifting needs without forcing the visitor into a new route or a whole new interface. A strong habit is to think in nouns before you scroll: city, matchday, food, attractions, or trip. Tap the chip that matches the noun in your head, and the page immediately becomes more relevant and much easier to read.
The most important section on the page is the city spotlight. This is where Explore City Hub stops being a directory and becomes a personalized guide. The spotlight shows the active city image, signature moment, region, summary, stadium, match count, stay advice, transit advice, airport note, and “best for” guidance, all in one place. It also gives you direct buttons for the official city guide and official match link, which is exactly the kind of practical bridge a traveler needs. The reason I like this section so much is that it gives a visitor permission to focus. Instead of trying to remember ten cities at once, the page says: make one city primary, then let the rest of the page update around it. That is a much better mental model for real planning. It reduces noise, encourages better comparison, and makes the page feel like a live working guide rather than a collection of disconnected travel cards.

Once a city becomes active, the page feels less like a directory and more like a working travel desk.
After you understand the active city, move into Host City Guides. This rail is one of the smartest parts of the experience because it lets you compare fast without abandoning the currently selected city. You can scroll left and right, read each city card, and decide whether the active spotlight should stay where it is or switch to another host. That is a subtle but important design win. Many destination pages make comparison feel expensive. This one makes it feel light. You can compare a city because of team schedule, stadium preference, transport comfort, fan atmosphere, or collector meetup potential, then carry the best option back into the spotlight. If you are traveling with others, this is also the section that is easiest to use in conversation because the cards are compact and decision-friendly. One person can say they want easier transit, another can say they want better city energy, and the rail gives you enough quick context to talk through the tradeoffs without getting lost in giant blocks of travel copy.
Once the active city feels right, jump into Trip Builder and use the three-page rhythm hidden inside it. First read Things To Do In for the city, then move to Local Flavor, then finish in Matchday Itinerary. That order works because it moves from atmosphere into logistics. The attractions cards help you imagine the city. The food cards help you place good pauses around the event. The itinerary timeline then turns all that loose energy into a structured day with time blocks. This is where the page becomes much more than a tourism collection. It becomes a matchday planner that still feels human. It remembers that people do not only want a schedule. They want a good day. That includes where to walk, what to eat, when to move, and how to avoid the vague feeling that everything is happening at once. Use this section after comparison, not before, and it becomes one of the cleanest planning tools on the site.

Trip Builder works best after the city is chosen, because then every attraction, food pick, and itinerary block has real context.
The lower intelligence blocks are where the page becomes reliably useful. Best Stay Areas and Matchday Essentials help you avoid the most common travel mistakes, because they translate a city into neighborhoods, checklist logic, and practical preparation. Then AI City Guide gives you prompt buttons that can launch more personalized help through the AI guide. This matters because planning problems are rarely generic. One visitor wants the easiest route from hotel to stadium. Another wants the best pre-match lunch with children. Another wants to know where a collector meetup makes sense after the final whistle. The prompt system lowers the effort required to ask those questions well. That makes the whole page feel more intelligent because it does not stop at curated content. It helps you turn curated content into a custom answer. When you combine stay advice, essentials, and AI prompts, the page stops feeling inspirational and starts feeling dependable.
One of the best ways to use this page is to read it before you post or respond in the Trade Market. That might sound separate, but it is actually a very practical sequence. If you know what city is active, where you plan to be, which neighborhoods make sense, and what the rough matchday schedule looks like, it becomes much easier to trade with clarity. You can message collectors with a better sense of time and place instead of speaking in vague terms. That is valuable for travelers, but it is also useful for local fans who want to help visitors and create stronger human interaction around the World Cup. The point of Explore City Hub is not only to show host cities beautifully. It is to make movement easier, decisions faster, and the live event more enjoyable. When used well, it helps fans travel smarter, collect with less friction, and step into the World Cup feeling more prepared and more open to the kind of real-world community moments that make the tournament unforgettable.

Lorem, ipsum dolor sit amet consectetur adipisicing elit. Exercitationem, facere nesciunt doloremque nobis debitis sint?